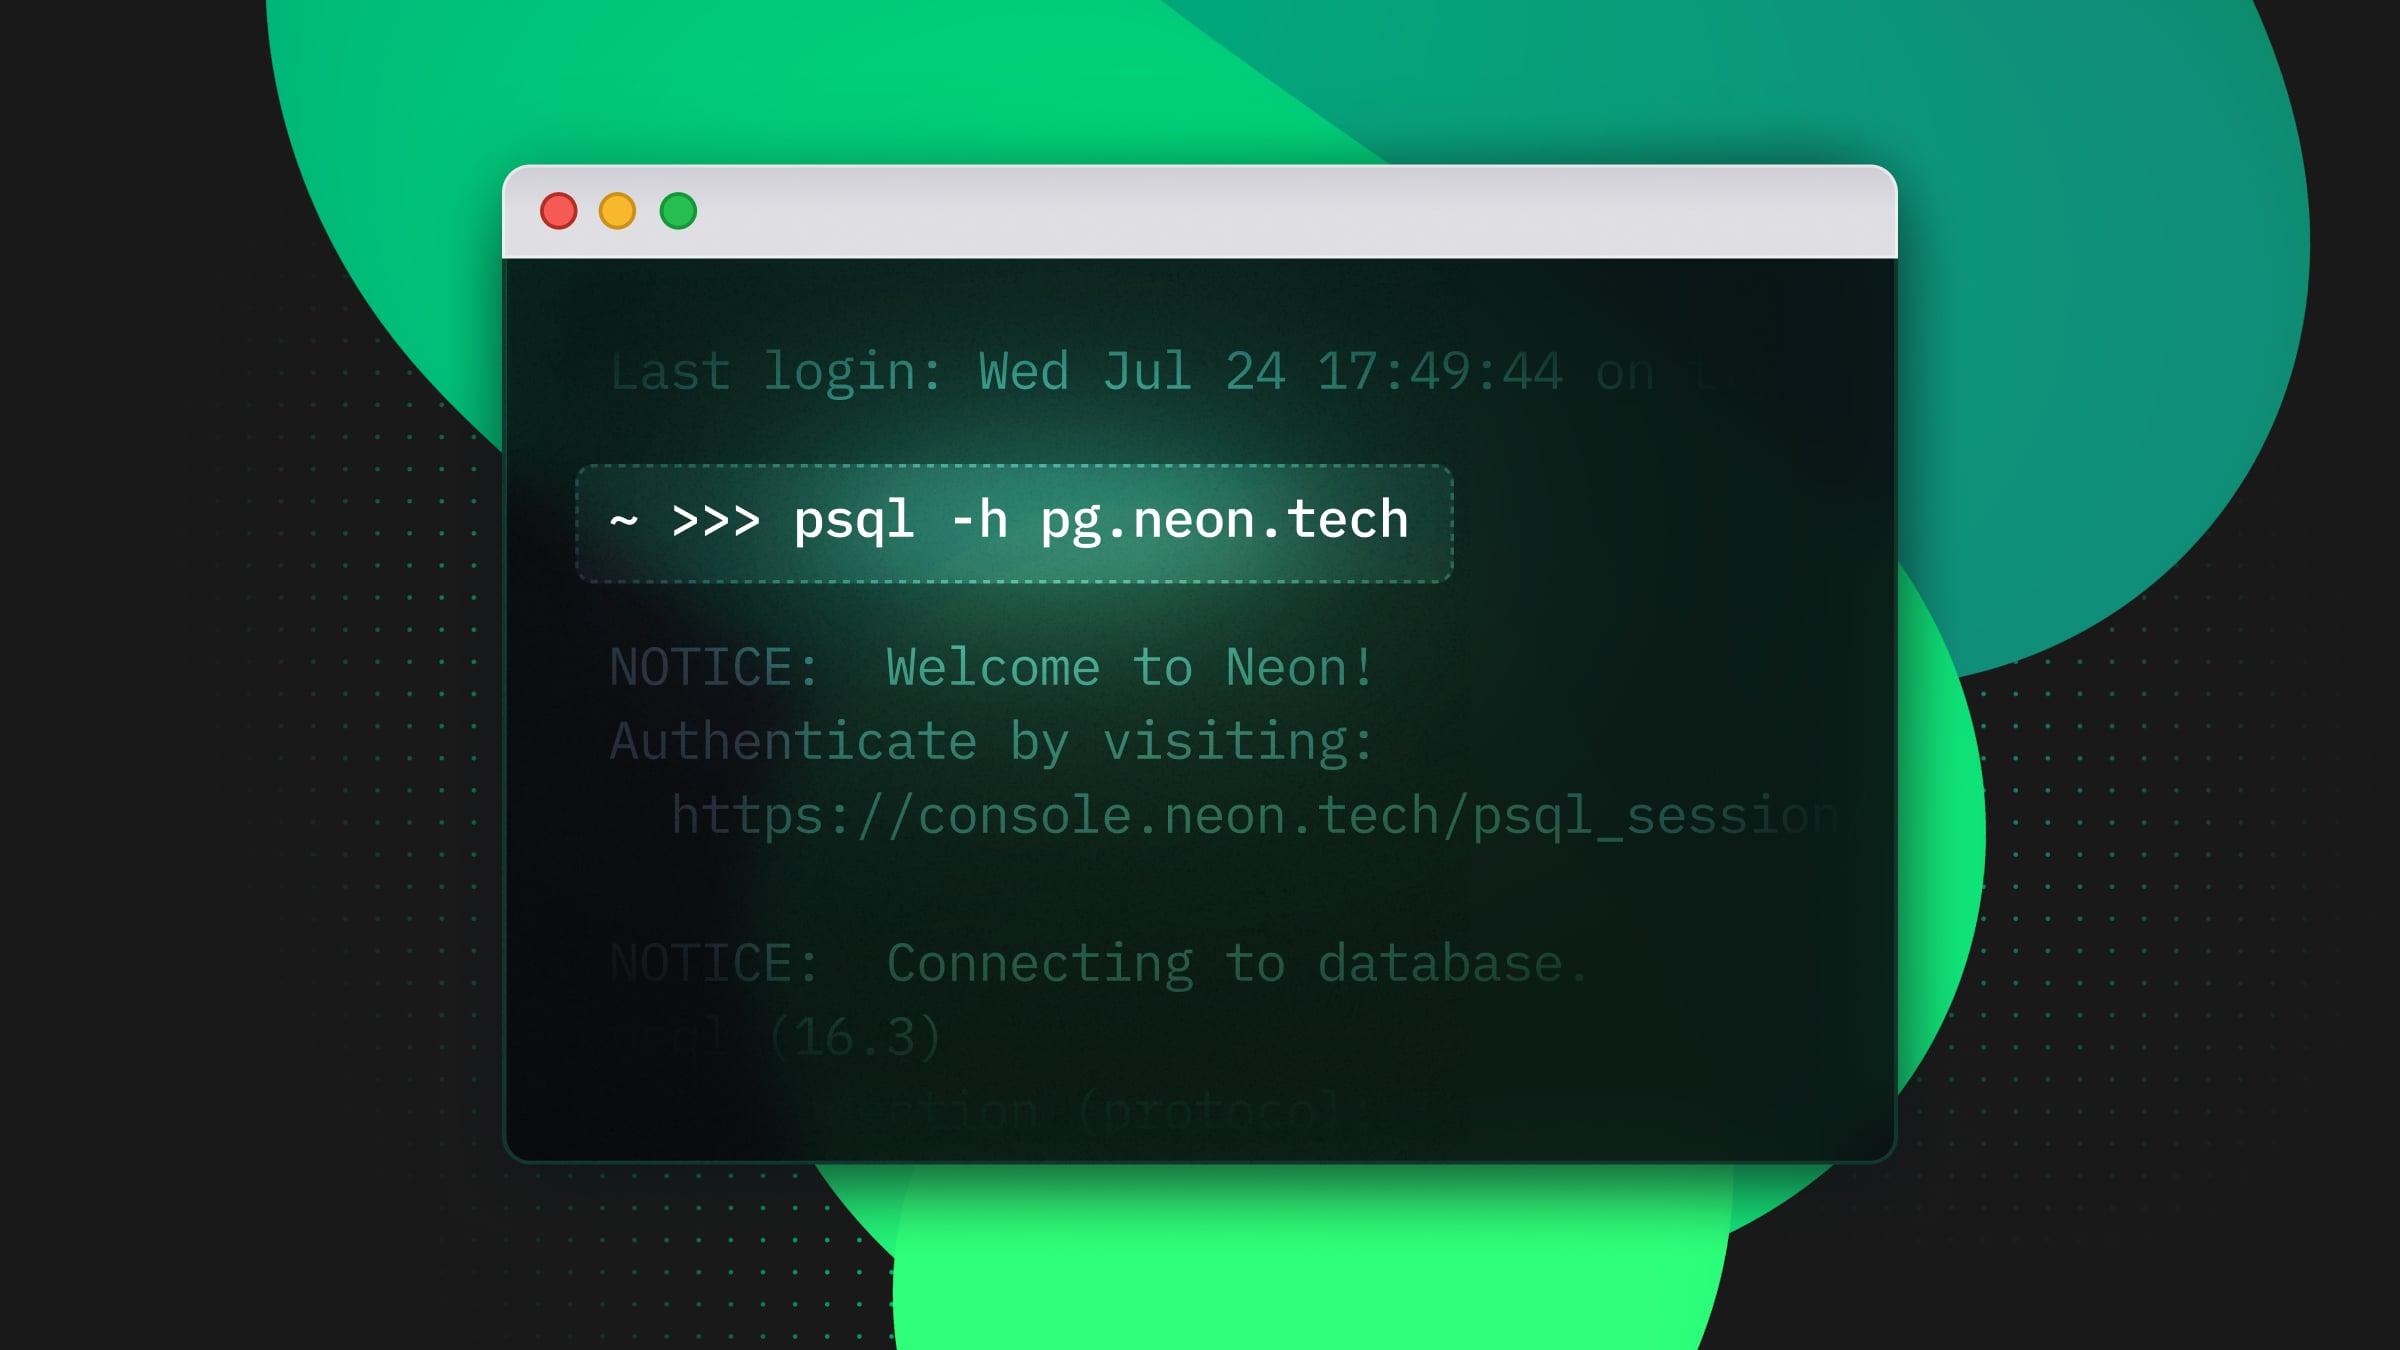
One of the things that got me really excited and curious about Neon, long before I joined the company, was the psql -h pg.neon.tech command. I’ve recently come to find out that other employees here went through the same “wow” experience even before they joined the company. So, I’ve decided to write a little bit about how to use it, how it works and why it’s so useful.
When you run psql -h pg.neon.tech in your CLI, you get a URL that you can click on:
And then by clicking on that URL, you are taken into the Neon console, where you can choose which Neon project you’d like to connect to. If your project only has one endpoint, then the flow is really quick, but otherwise you have to specify which endpoint you want to connect to.
And then you’re in!
How does it work?
Once I joined Neon, I decided to try and figure out how this feature works under the hood. And it all starts with what’s running at pg.neon.tech. Is it a real Postgres instance? No, it’s not — it’s just a server that speaks Postgres protocol that we call “Link Proxy”.
But how can this Postgres server make the client print that “Welcome to Neon!” message?
So, the Postgres protocol has a “message flow” that can be used for many different things. One of the message types that the server can respond with to the “Start-up” message from the client is “NoticeResponse”. As per the docs, this is what it should be used for:
A warning message has been issued. The frontend should display the message but continue listening for ReadyForQuery or ErrorResponse.
This is the message type that our server uses to print the “Welcome to Neon!” message. It’s a bit of a hack but it works!
And because Neon is open source, you can actually read the code here:
let greeting = hello_message(link_uri, &psql_session_id);

// Give user a URL to spawn a new database.
info!(parent: &span, "sending the auth URL to the user");

client
    .write_message_noflush(&Be::AuthenticationOk)?
    .write_message_noflush(&Be::CLIENT_ENCODING)?
    .write_message(&Be::NoticeResponse(&greeting))
    .await?;
So, now that we’ve figured out how to print the initial message, we can see that it includes a special URL that the user can visit in order to authenticate to a Neon project/compute endpoint. What’s special about this URL that the “Link Proxy” generates?
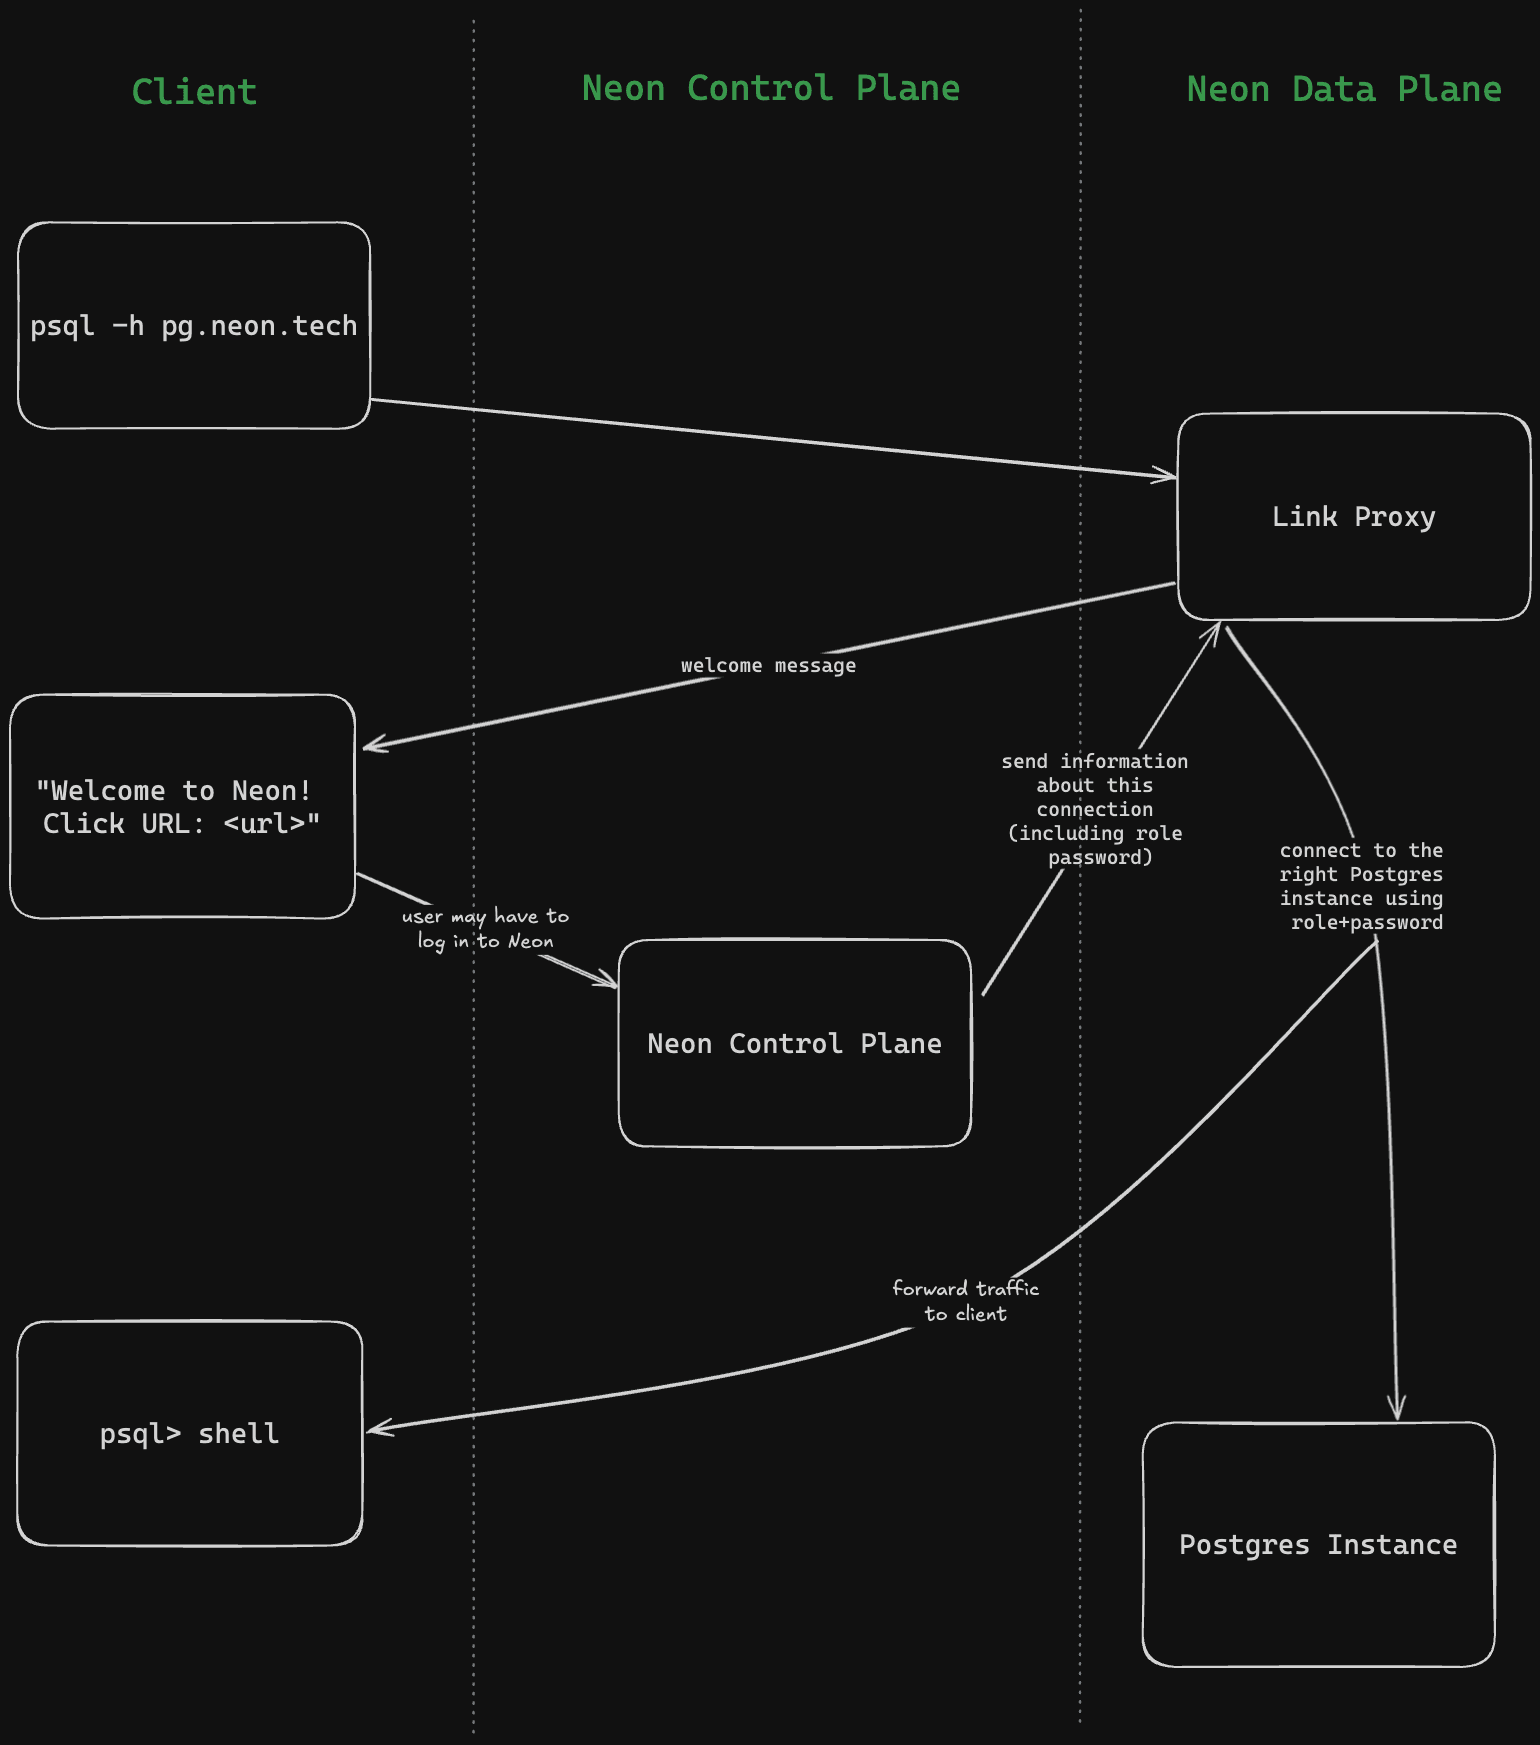
Just like most “database as a service” products, Neon has a control plane <-> data plane architecture, and this separation of concerns provides many benefits for us. The control plane is responsible for orchestrating the data plane and managing metadata around organizations, user accounts, preferences, billing, etc. On the other hand, the data plane is essentially the Postgres compute and storage. The “Link Proxy” service is actually running in the data plane, and it generates a URL that takes the user to a UI powered by the control plane, where they can choose the Neon project/endpoint that they wish to connect to.
Then, the control plane connects to the “Link Proxy” service and feeds to it the necessary connection details for the request ID that was in the URL. This, in turn, causes the Link Proxy to initiate a connection to the correct IP with the appropriate credentials. The “Link Proxy” also forwards all the connection’s traffic (i.e., messages to and from Postgres) to the “psql” client.
That’s it!
Confusing? That’s okay, we’ve got a diagram that should help clear things up:

Why is this command so interesting?
This command is extremely useful for developers playing around with more than one Neon project, or multiple compute endpoints inside the same Neon project. Most of us are not keeping track of the URLs or credentials for all the endpoint/databases that we’re connecting to in our development workflow. So, it’s simply much easier to just type psql -h pg.neon.tech (or even better, to have a pgneon alias in your CLI for this!).
Finally, both the regular Neon Proxy as well as the “Link Proxy” described in this article are open source. So, feel free to poke around in the codebase and to ask us any questions you might have on its architecture on our Discord server.
We’re also hiring—take a look at our open engineering positions and help us shape the future of AI and Postgres.


